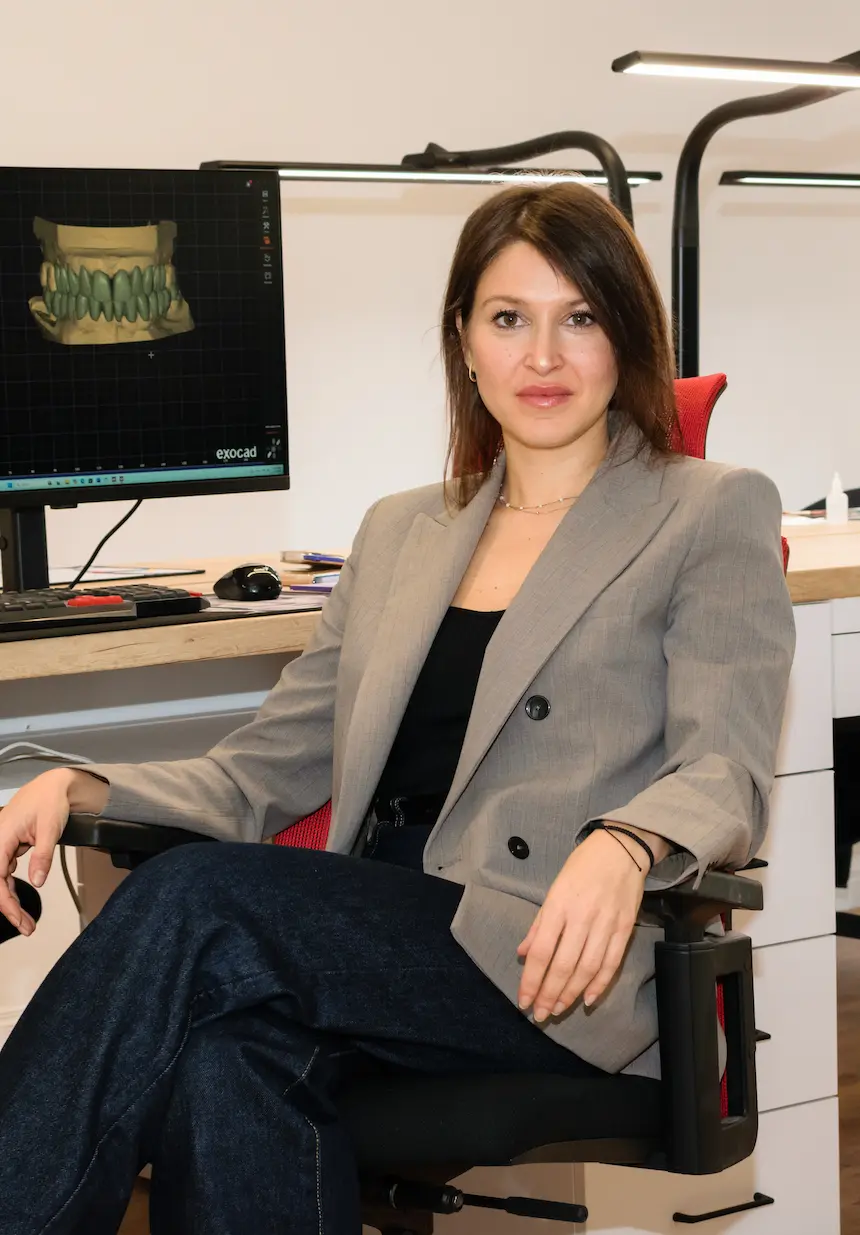
Digital dentistry takes more than clinical knowledge. Understanding Exocad helps you communicate better with the technician and stay in control of every step of the treatment.
The digital process stays a "black box" to you
You explain in words what the technician does with clicks - misunderstandings are common
You see margins, contacts and occlusion only once the finished piece arrives - and revisions cost time and trust
You understand and lead the whole process
You know what is possible, what the limits are, and how to ask for exactly what you want - without misunderstandings
Every decision in the design is clear to you - why it is made and how it affects the final result for the patient
Crowns, bridges, inlays and veneers - you shape them yourself when time or the case calls for it
Exocad is not learned by watching. It is learned by designing real cases, with a mentor beside you.
A program exclusively for dentists
36 live lectures, each with a hands-on task. You design on your computer while the mentor guides you - and after every session you also get the video recording, which stays yours forever.
Carefully chosen real projects for step-by-step learning. Crowns, bridges and implants the same challenges you meet in everyday dentistry. The mentor corrects you live while you design, so mistakes get fixed right away.
A printable PDF script plus a video recording of every online session - both resources with you while you work, yours forever. After the program, a professional connection with Aleksandra for collaboration, consultations and support with complex cases.
This is not a program for watching. It is online work with a mentor on real dental cases, one session a week.
A program exclusively for dentists
The From Scan to Smile program - from opening Exocad for the first time to independently designing crowns, bridges, inlays and veneers. 4 online sessions over 1 month, with no classes to attend in person.
An online program for dental doctors - one session a week × 4 weeks, plus a video recording after every session that stays yours forever. From opening Exocad for the first time to independently designing crowns, bridges, inlays and veneers.
This introduction explains why exocad became the standard in digital dentistry and how the program is structured for step-by-step learning. You will meet the instructor and her experience, get an overview of the available versions, licenses and add-on modules, and guidance on choosing the right reseller for ongoing support.
For optimal work in exocad you need to meet the minimum hardware requirements, including enough RAM and a suitable graphics card. You will learn how to choose between a laptop and a desktop for your needs, and what limitations exist when working on a Mac.
This part walks you through creating a new case and navigating the exocad interface. You will learn how to add patients, organize projects, choose teeth, restorations and materials, and work with crowns, bridges and implants. You will also master using additional scans, setting parameters for a precise design, and techniques for saving, copying and sharing cases.
You will understand the differences between the STL, PLY and OBJ formats most commonly used in digital dentistry. Learn how to review and validate scans before starting a design, and how to spot potential problems early.
Master the most useful keyboard shortcuts, essential for beginners in exocad. You will learn how to quickly hide and show parts of the model and significantly speed up your workflow.
Wizard Mode is ideal for beginners because it provides guided, step-by-step work. Over time you will move to Expert Mode, which offers full control over the design, and this part explains when and how best to make that switch.
Learn how to correctly select the meshes for the working model and antagonist, and how to correct an incorrectly oriented scan. This part covers working with 3D models, including rotating, zooming and moving, as well as reading orientation from the color of the triangles.
Learn how to edit and clean up scans before starting a design. This part covers removing unnecessary parts, repairing holes in the mesh, and preparing a clean working model for a precise result.
This part covers the techniques for automatic and manual margin detection in exocad. You will learn how to adjust points for a precise margin line and how to optimize lighting and the view for better visibility.
Understand the parameters for a good fit, including cement gap and the different zones. You will master the boundaries (horizontal, vertical, angled), undercut and milling options, and the adjustments for crowns, veneers and other restorations.
Learn how to determine the best direction for inserting the restoration. This part explains how to minimize undercut areas around the margin and how to track the changes in real time.
Understand the minimum thickness required depending on the material type and the tooth being restored. Learn how to check the occlusal space before making corrections.
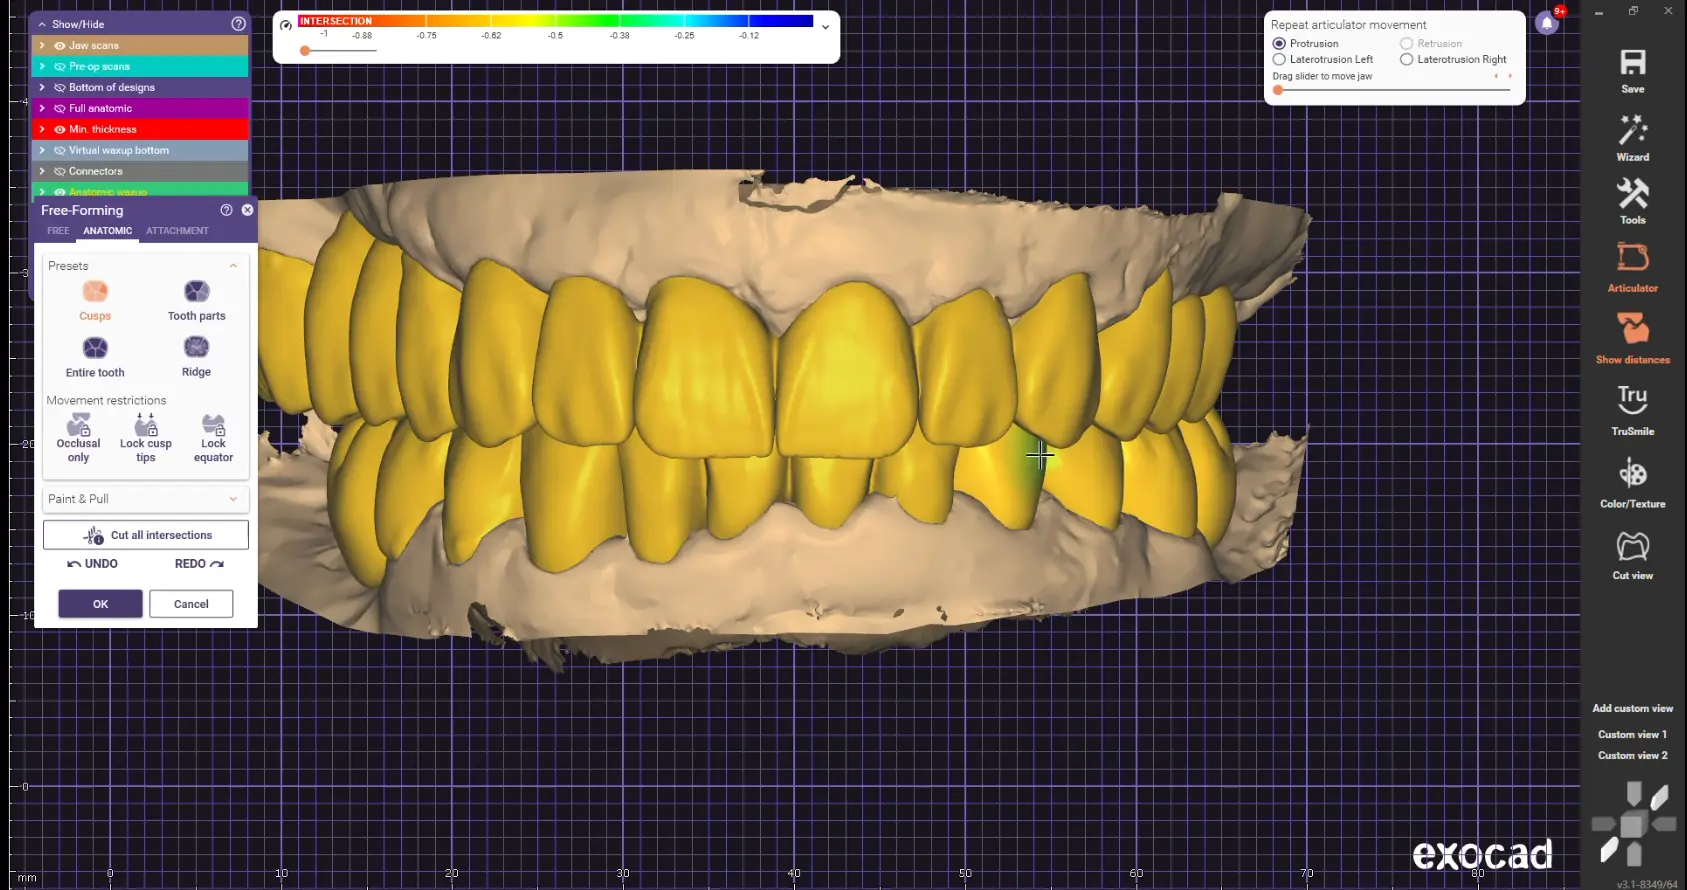
This part walks you through choosing a tooth model from the library and positioning techniques including rotating, dragging and scaling. You will also master the free-form tools for final shape corrections.
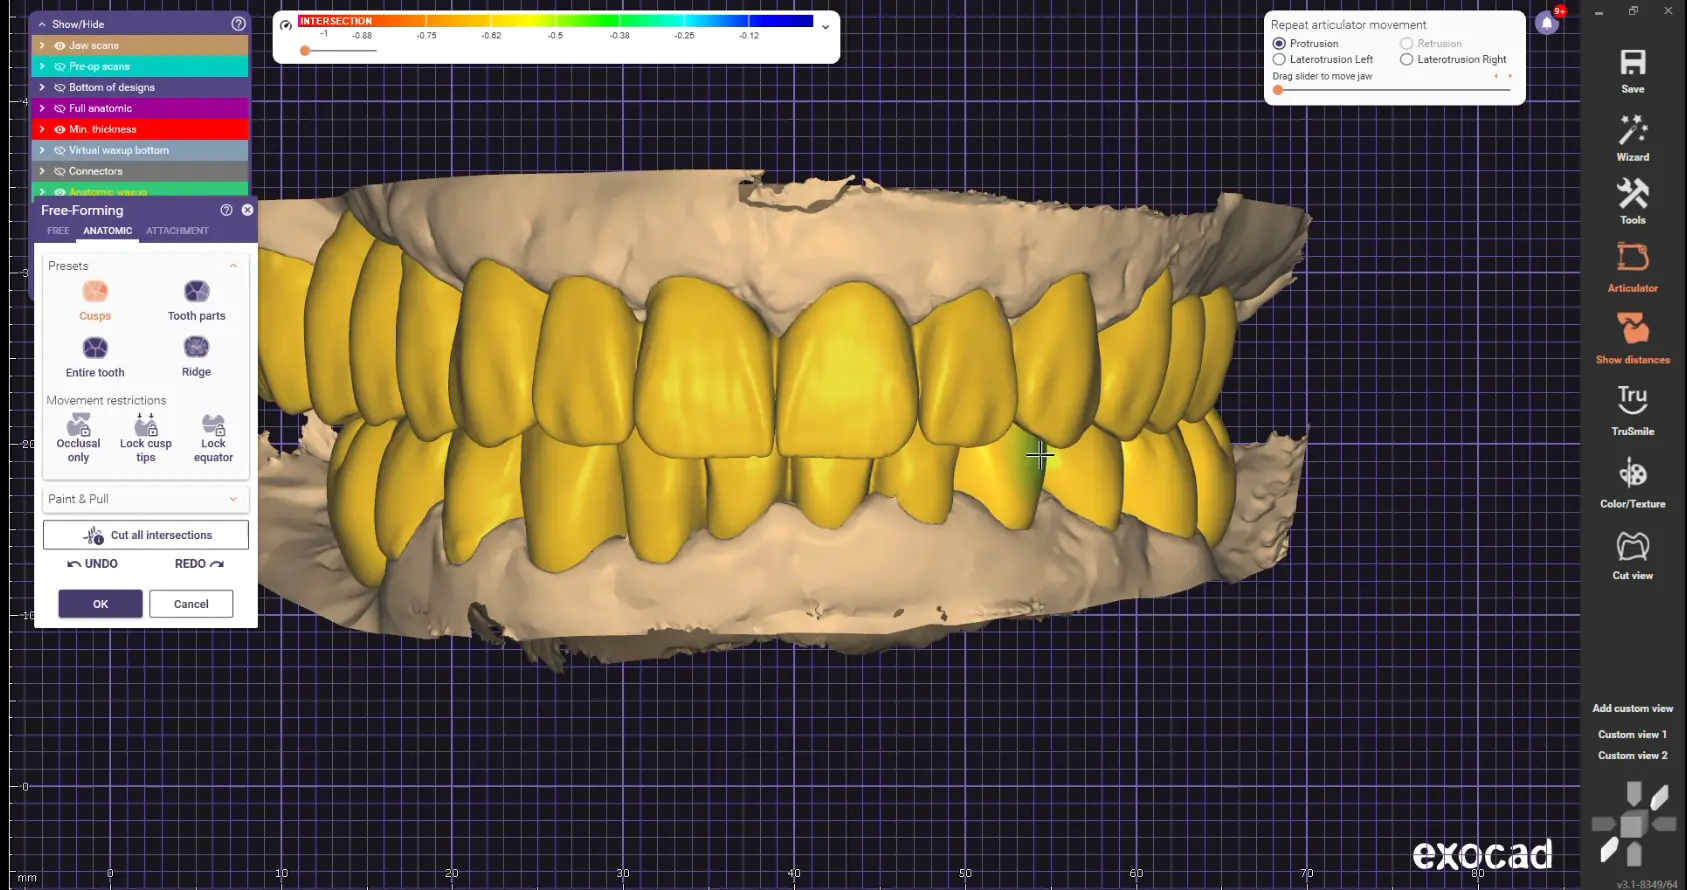
The free-forming tools let you add, remove and smooth the surface of the design. Learn how to adjust cusps, ridges and contours, and how to control spacing and contact points.
Learn how to correctly finalize and merge all the parts of your design. This part covers checking the STL for 3D printing and the differences between the restorative and implant workflows.
Understand the differences between an offset coping and an anatomical crown, and learn how to add antagonist and gingiva scans. This part covers aligning meshes, designing a lingual band with the correct angle and height, leaving room for ceramic layers, and finalizing the project.
Master the design of inlays and onlays step by step, including choosing the material, files and anatomical model. You will learn to check the fit with Show Distances, make free-form adjustments while preserving morphology, use TrueSmile to visualize fissures, and cutting and smoothing techniques for a correct fit.
Learn the Mirror function for creating symmetrical anterior crowns and how to copy and mirror models from the scan. This part covers Advanced Placement for precise symmetry, using custom views and a grid for exact positioning, TrueSmile for visual checking, free-forming techniques for smoothing and contours, and a final check of contact points.
Learn how to design a bridge with anatomical crowns and a pontic, including margin detection and insertion axis. This part covers handling cases with tilted teeth and simulating the reduction for the patient.
Master loading and choosing custom models from the libraries and using custom views for easier placement. Learn how to align cusps, check volume, and use Show Contacts to check the contacts.
This part covers final shaping and achieving occlusal harmony. You will learn how to create a pontic bottom for hygiene without food traps, use the disk cutter for embrasures, and techniques for smoothing and anatomical detail.
Learn how to correctly add and adjust connectors between the units of the bridge. This part covers choosing size, shape and position for maximum stability, using free-forming to achieve exact dimensions, and finalizing and saving the finished bridge.
Learn how to reduce for ceramic over a metal framework, including controlling depth and excluding parts from the reduction. This part covers advanced options like lingual side and multilevel reduction, minimum thickness by material, free-form smoothing and adjusting connectors, and returning to full anatomical form.
Master manually defining reduction areas and using scan transparency for easy adjustment. Learn how to manage contacts with neighboring teeth and apply free-form smoothing for final corrections.
Learn how to access Model Creator and correctly clean up the scans. This part covers Expert Mode, Model Alignment, model types and plateless options, parameters for height, rotation and tooth dies, and creating antagonist models.
Understand what cut-out dies are and why they matter in the workflow. You will learn about Model Alignment, ditch parameters, gingiva mask, retention nubs, and generating STL files for 3D printing.
Learn how to use Cut View to visually explain a case and measure distances between surfaces. This part covers adding text and arrow annotations for clarity, and creating screenshots for communicating with clients.
Exocad enables a 3D preview directly in the browser without extra software. Learn how to select objects, add password protection, and easily share cases by email.
Create documents that combine a 3D model and screenshots in one place. Adobe Acrobat enables an interactive 3D preview directly inside the PDF document.
Learn how to correctly install new tooth and implant libraries. This part covers checking that the libraries loaded successfully in exocad and how to avoid common selection errors.
This part presents a complete workflow for different restoration types, covering shape, thickness and minimum requirements. You will work with single- and multi-unit cases, correcting scan errors, the margin line and its parameters, positioning and adjusting teeth, bridges, connectors and ceramic layers, and export and preparation for production.
18+ years in dental technology. 5,000+ designed restorations. Clients in Skopje, Zagreb, Prague and Belgrade.
With 16 years of experience in manual dental work and another 5 years of expertise in digital technology (Exocad), my biggest strength is the combination of classic techniques and a modern digital workflow. To keep growing my knowledge, I attended specialized digital design training in Zagreb and at IDD, where I gained advanced practical techniques that I now pass on to dentists, technicians and professionals in the field.
My training is focused on hands-on projects, individual mentoring and support after the program ends, so participants can immediately apply the skills they gained and advance professionally.
Her philosophy: a good restoration means less time in the chair and fewer complaints.
"I learned Exocad through trial and error and a lot of complaints. I want to save you those frustrations and get you to a level where, whatever case lands on your desk, you will know how to handle it."
Dental technicians and dentists who now work independently
As a young dental technician, the beginner Exocad program was extremely useful to me. The program was well organized and focused on hands-on work, with a clear explanation of the basic Exocad workflow. Aleksandra covered all the basic but important tools needed for everyday lab work, professionally and in detail. After finishing the program I felt ready for independent work. The program is a great foundation for any dental technician who wants to take a step forward into digital dentistry.
I came in afraid of digital work, having worked only manually for years. After the program I feel confident and ready to take on any digital project. Aleksandra guided me step by step and gave me her full attention. This program genuinely boosted my productivity and confidence.
This was my first time taking a program like this, and the experience was truly wonderful. The atmosphere was positive and motivating. I learned a lot of new, useful things that I will definitely keep applying. The program exceeded my expectations and I would happily recommend it to anyone.
Everything was explained simply, step by step, with a lot of hands-on work. I am thrilled with the program, and I recommend it both to beginners and to colleagues who have worked manually for a long time and want to start going digital.
For dentists only
Learn it properly in 4 online sessions (1 a week) without picking up bad habits from YouTube tutorials
Design directly in your practice, without waiting for or paying outside designers
You are in control from scan to finished design, without depending on a lab
Start your career with Exocad a special student price for the From Scan to Smile program
The program is exclusively for Exocad
The From Scan to Smile program is 4 online sessions (1 a week) over 1 month - without this commitment you will not make progress
The recordings are for review, not for learning on your own. The real work happens live with a mentor - passive watching does not build skill
No. If you have never opened Exocad, that is fine. The program is designed to guide you step by step from the first time you open it to complex cases. Most students start from zero.
Yes, you need to have Exocad installed on your laptop.
About 4 hours a week: 2 hours of hands-on session and 2 hours of homework. It fits easily alongside regular work.
Yes. After every online session you get a video recording that is yours forever - to rewatch, review, or catch a session you missed live. If you have specific questions about the recording, you can always reach out.
After completing the program, all participants receive a certificate from Dental Design By Aleksandra confirming they successfully completed the Exocad program.
No program makes you an expert overnight. But the goal is that after the program you can independently handle basic and moderately complex cases, and you do not feel lost when you get an assignment.
YouTube is a great resource. But there you watch someone else's process, without context and without answers to your questions. Here you work, ask questions, and get direction like in a real lab.
Yes, you will get a certificate. But honestly, the certificate does not get you hired. What gets you hired is knowing how to do the work. The certificate is confirmation, the skill is the value.
Because I am not teaching you as a lecturer, but as someone who works with Exocad every day and knows where students usually get stuck. My goal is not to impress you, but to prepare you.
The program is built around hands-on work. Watching without doing does not build confidence. Working with support, yes.
Everything you get in the program, led by a mentor with 18 years of experience and 5,000+ designed restorations: